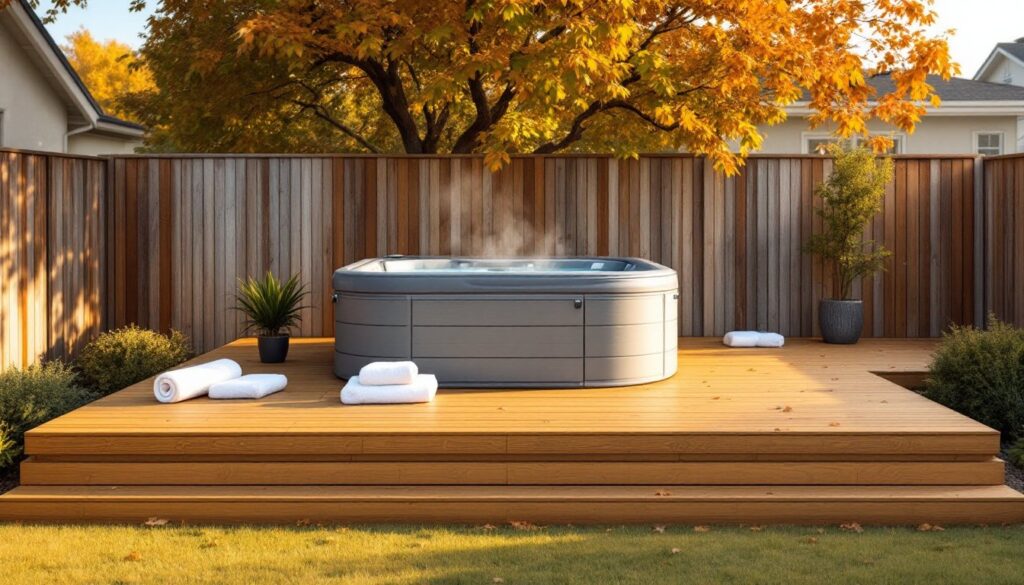
A hot tub sitting on bare ground or gravel isn’t just unsightly, it’s asking for drainage problems, uneven settling, and tricky access. Building a simple deck around or under your hot tub solves those issues while creating a defined outdoor space that feels intentional. Whether you’re working with a brand-new spa or retrofitting an existing setup, a well-planned deck can be a weekend project or a slightly more involved build, depending on your site conditions and design goals. This guide walks through practical, buildable deck ideas that prioritize function, code compliance, and straightforward construction.
Table of Contents
ToggleKey Takeaways
- A hot tub deck distributes the weight of a 3,000 to 6,000 pound filled tub across a stable, level surface while solving drainage, settling, and access problems that bare ground or gravel cannot address.
- Simple hot tub deck ideas range from ground-level floating platforms on deck blocks to elevated designs with built-in steps, each suited to different yard conditions and code requirements.
- Proper framing with pressure-treated joists on 12-inch centers, concrete footings below frost line, and code-compliant details like guardrails and flashing are essential to pass inspection and ensure durability.
- A basic ground-level deck in treated lumber costs $800 to $1,500 in materials, while composite decking adds 50 to 100 percent but requires less ongoing maintenance than stained wood.
- Corner and privacy-focused deck layouts suit smaller yards and tight budgets by using L-shaped platforms with privacy screens, while elevated designs allow for underside storage and integration with upper-level outdoor rooms.
- Finishing touches like built-in benches, low-voltage LED lighting, and anti-slip surface treatments enhance functionality and safety without significantly increasing costs.
Why a Deck Is the Perfect Hot Tub Foundation
Hot tubs are heavy, figure 3,000 to 6,000 pounds when filled with water and occupants. That weight needs a stable, level, well-drained surface. A deck distributes the load across joists and beams, avoiding the soil compaction and erosion issues common with patio slabs or paver bases.
Decks also improve access and safety. A flush or slightly elevated platform eliminates the awkward step-up onto the tub’s cabinet, reducing slip hazards, especially in winter. And because the structure is raised off grade, water drains freely underneath, preventing the standing moisture that rots skirting and harbors pests.
From a code standpoint, most jurisdictions treat a deck supporting a hot tub as a structural element, not just a cosmetic addition. That means proper footings, joist sizing, and often a permit. Check with your local building department before you dig, requirements vary, but a typical setup calls for concrete footings below frost line, 2×8 or 2×10 joists on 12-inch centers, and blocking between joists under the tub footprint. Skipping this step can mean costly rework if an inspector flags it later.
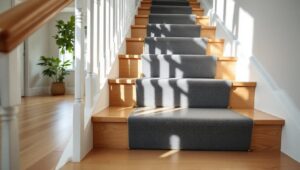
Ground-Level Deck Designs for Easy Access
A ground-level or “floating” deck sits just a few inches above grade, often on concrete deck blocks or poured footings. This design works well on flat, well-drained sites and keeps material costs low since you’re not building stairs or railings.
Construction basics:
- Set deck blocks or footings on compacted gravel, spaced to support your joist layout (typically 6 to 8 feet apart).
- Frame with pressure-treated 2×8 or 2×10 joists on 12-inch centers directly under the hot tub zone: you can go to 16-inch centers for surrounding deck area with lighter loads.
- Use 5/4 decking boards (actual thickness 1 inch) in treated lumber, cedar, or composite. Composite resists moisture and requires less maintenance, but it’s pricier.
- Run decking perpendicular to joists, leaving a 1/8-inch gap for drainage and expansion.
Ground-level decks don’t usually require railings if they’re under 30 inches high, but confirm with local code. This layout suits homes where the hot tub sits close to a back door or patio slider, step out and you’re there. For wet climates, consider adding a gravel border around the deck perimeter to keep splash and runoff from pooling against your siding.
Elevated Deck Platforms with Built-In Steps
If your yard slopes or you want the hot tub closer to an existing second-story deck, an elevated platform is the way to go. This design requires more framing and often a guardrail (code typically mandates railings for decks 30 inches or higher), but it opens up options for underside storage or integrating the tub with an upper-level outdoor room.
Framing considerations:
- Use 6×6 pressure-treated posts set in concrete footings below frost line, with a beam assembly (doubled 2×10 or engineered beam) to carry the load.
- Joists should run 2×10 on 12-inch centers under the tub, transitioning to 16-inch spacing for adjacent deck area if desired.
- Built-in steps can be framed with 2×12 stringers cut to code-compliant rise and run (max 7.75-inch rise, min 10-inch run in most jurisdictions). Use treated lumber for all framing in ground contact.
Modern elevated deck designs often incorporate tiered landings or L-shaped stair runs to soften the transition and add visual interest. A 36-inch guardrail with balusters spaced no more than 4 inches apart meets IRC standards: cable rail is a contemporary alternative that doesn’t obstruct sightlines.
Elevated builds almost always require a permit and plan review. Budget extra time for inspections at footing, framing, and final stages.
Corner and Privacy-Focused Deck Layouts
Tucking the hot tub into a corner of your yard, against a fence line, garage wall, or behind a privacy screen, creates an intimate, sheltered feel without requiring a full deck surround. A corner deck can be as simple as an L-shaped platform that wraps two sides of the tub, leaving the other sides accessible for service access and electrical connections.
Design tips:
- Frame the deck so the hot tub sits on the inside corner, with decking extending 24 to 36 inches beyond the tub edges for towel space and plant pots.
- Add a privacy wall or trellis on one or two sides using pressure-treated 4×4 posts and horizontal slat infill. Space slats 2 to 4 inches apart for airflow and a modern look.
- If attaching to an existing structure (house or garage), use a ledger board lag-bolted into the rim joist or wall framing, with flashing installed above to prevent water intrusion. This connection point is a common code inspection item, use galvanized or stainless fasteners and follow manufacturer specs.
Corner layouts suit smaller yards and tight budgets, since you’re building less total square footage. They also simplify electrical and plumbing runs if the corner is close to your service panel or exterior outlet. Just confirm your electrical setup includes a GFCI-protected 240V circuit with a disconnect within sight of the tub, per NEC Article 680.
Budget-Friendly Materials and Construction Tips
Material costs vary widely by region and market conditions, but a basic 12×12-foot ground-level deck in pressure-treated lumber typically runs $800 to $1,500 in materials, not counting footings or fasteners. Composite decking adds 50 to 100 percent to that figure, but it won’t need staining or sealing down the line.
Cost-saving strategies:
- Use pressure-treated southern yellow pine for all framing and decking. It’s code-approved for ground contact and widely available. Let it dry for a few weeks before applying a water-repellent stain.
- Buy deck screws in bulk rather than small boxes: a 5-pound box of coated deck screws costs less per fastener and you’ll use hundreds.
- Rent a power auger for digging footing holes if you’re setting more than four posts. It pays for itself in time and effort versus a manual post-hole digger.
- Skip decorative railings and stick with code-minimum if required. Pressure-treated 2×2 balusters and a 2×6 top rail are functional and cheap.
Many regional deck ideas emphasize covered or semi-covered structures, which add cost but extend usability. If budget allows, a simple pergola frame over the hot tub (not a solid roof) can support string lights and climbing vines without requiring the structural engineering a full roof demands.
Don’t skimp on fasteners or flashing. Galvanized joist hangers, exterior-grade screws, and proper flashing details prevent callbacks and failures. Most big-box stores offer free deck design consultations and can generate a cut list to minimize lumber waste.
Adding Simple Finishing Touches and Accessories
Once the deck is framed and decked, a few thoughtful additions make the space more livable without blowing the budget.
Practical upgrades:
- Built-in benches or storage boxes: Frame a simple bench along one edge using 2×4 supports and a 2×12 cap. Hinge the top for towel or chemical storage.
- Low-voltage LED lighting: Run 12V landscape lights along stair risers or under cap rails for safety and ambiance. Solar options work if you have good sun exposure.
- Removable privacy panels: Build simple frames from 1×2 furring strips and outdoor fabric or lattice. Lean or hinge them in place for wind and sight-line control.
- Non-slip surface treatment: Apply a clear anti-slip deck coating to high-traffic areas, or use rubber stair treads on steps. Wet decking is slippery, especially composite.
For finishing, pressure-treated lumber benefits from a water-repellent stain or sealer applied after the wood dries (usually 3 to 6 months post-installation). Semi-transparent stains let the grain show and are easier to maintain than solid-color finishes. Recoat every 2 to 3 years depending on UV exposure and foot traffic.
Avoid permanent planters or heavy built-ins directly on the deck surface unless you’ve accounted for their weight in your joist sizing. Potted plants and movable furniture are simpler and let you reconfigure the layout as needed.
Conclusion
A simple hot tub deck doesn’t require advanced carpentry or exotic materials, just solid planning, code-compliant framing, and attention to drainage and load distribution. Whether you opt for a flush ground-level platform or an elevated design with steps, the key is matching the build to your site conditions and local requirements. Take the time to pull permits, size your joists correctly, and use weather-appropriate fasteners. The result is a durable, safe outdoor space that makes your hot tub feel like a permanent part of your home rather than an afterthought.